Your Cart is Empty
Holiday Gift Sale! Shop Now > |Free USA Shipping On Orders Over $75!
Holiday Gift Sale! Shop Now > |Free USA Shipping On Orders Over $75!

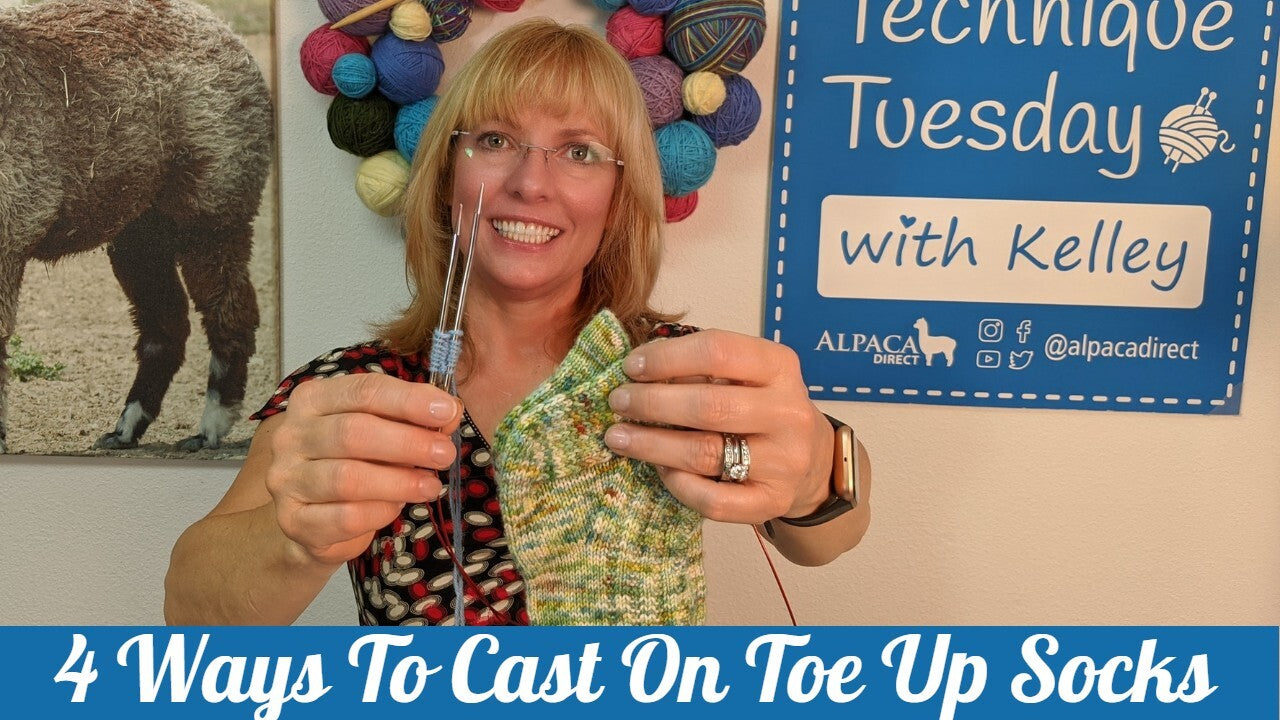
Socks are a lot of fun to knit – but getting them started can be tricky. With these four toe-up sock cast-on methods, you're sure to find one that works best for you! In no time at all you'll be knitting up socks for the entire family.
For two-at-a-time socks, use a long circular needle and the Magic Loop method or two 24-32" circular needles. Cast-on the one sock as you normally would, then push it down the needles. Cast-on the next sock, then knit across the top of both socks, rotate the needles clockwise, knit across the bottom of the second sock, then first sock. It takes practice, but two-at-a-time socks are a lot of fun and a sure way to guarantee a matching pair of socks!
For Magic Loop, Kelley recommends starting with a 47" cable circular needle. Judy's Magic Cast-On for toe-up socks is worked similarly to a long-tail cast-on. Watch the video above to see how this cast-on is executed. It can be complicated the first few times you do it, but it is the most stable cast-on for toe-up socks.
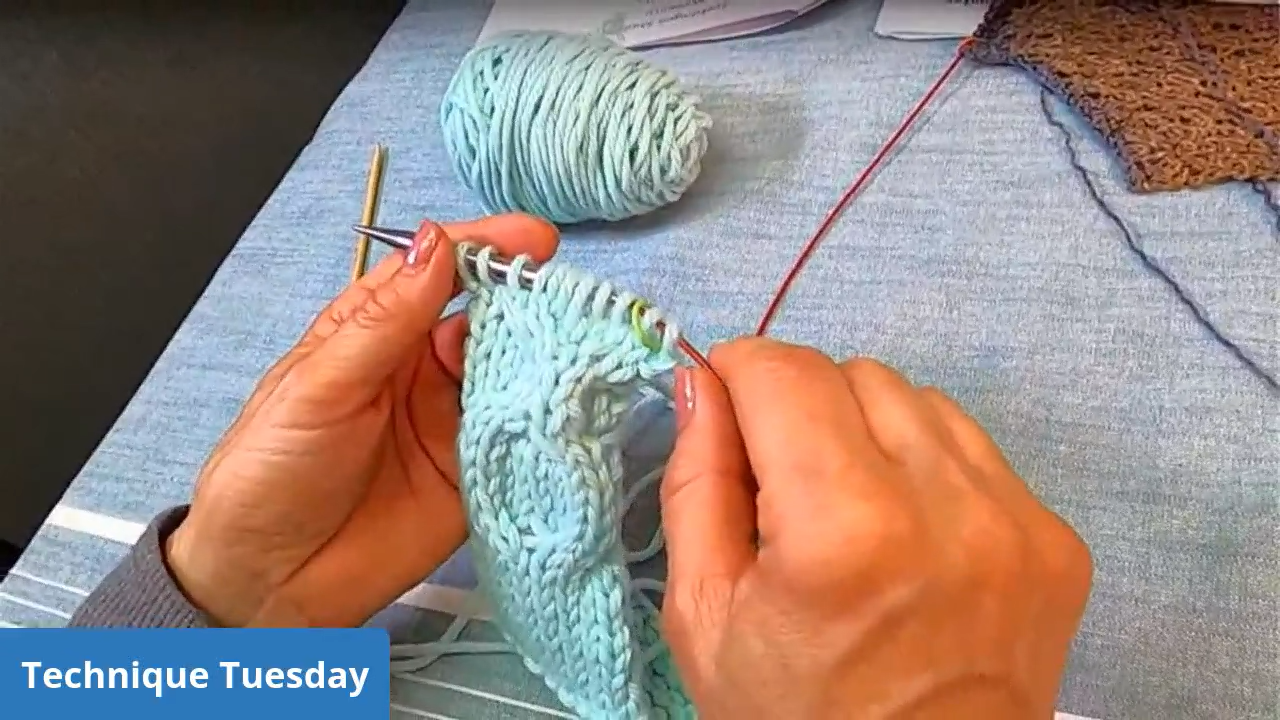
The Turkish Cast-On is started with two needles in your hand with tips facing to the left, preferably a circular needle for Magic Loop. Attach a slip knot to the top needle, then bring the working yarn from behind and wrap it around both needles until you have half the number of total stitches you need. If you need to cast on 24 stitches, you will do 12 wraps. Rotate the needles clockwise so the slip knot is on the bottom needle, and pull the bottom needle through so the wraps are on the top needle and the cable. Begin to knit from the top needle, dropping the slip knot when you get to it. After you knit the wraps on both needles, knit one more round. Then you're ready to begin your toe increases!
With two needles in one hand, attach the yarn to the top needle with a slip knot and hold the tail of the yarn behind the needles in your palm. Bring the yarn from behind the top needle and over it, between the two needles to go behind the bottom needle, up and over the bottom needle, and back between the two needles. Repeat this figure-8 motion until you have enough stitches on each needle. If using Magic Loop, pull the bottom needle out and begin to knit from the top needle. Drop the slip knot when you get to it.
Feel ready to start sock knitting? Check out our directory of free sock patterns to get started! If you're looking for the perfect sock heel, we break down all heel types in this article. We also have a wide variety of sock yarns to add to your sock knitting stash. Are you going to cast-on socks this week?

Comments will be approved before showing up.


Do you feel lost when it comes to picking out your first knit sweater pattern? This week, Kelley shared her favorite sweater patterns during Technique Tuesday. These patterns all feature minimal seaming, have detailed instructions, and have lots of completed projects on Ravelry!
Kelley has knit the Brick Sweater several times, and has decided to knit it again with all our Technique Tuesday viewers! Grab some worsted weight yarn and join us for this informal knit along.