A New Challenge with Fingerless Mitts

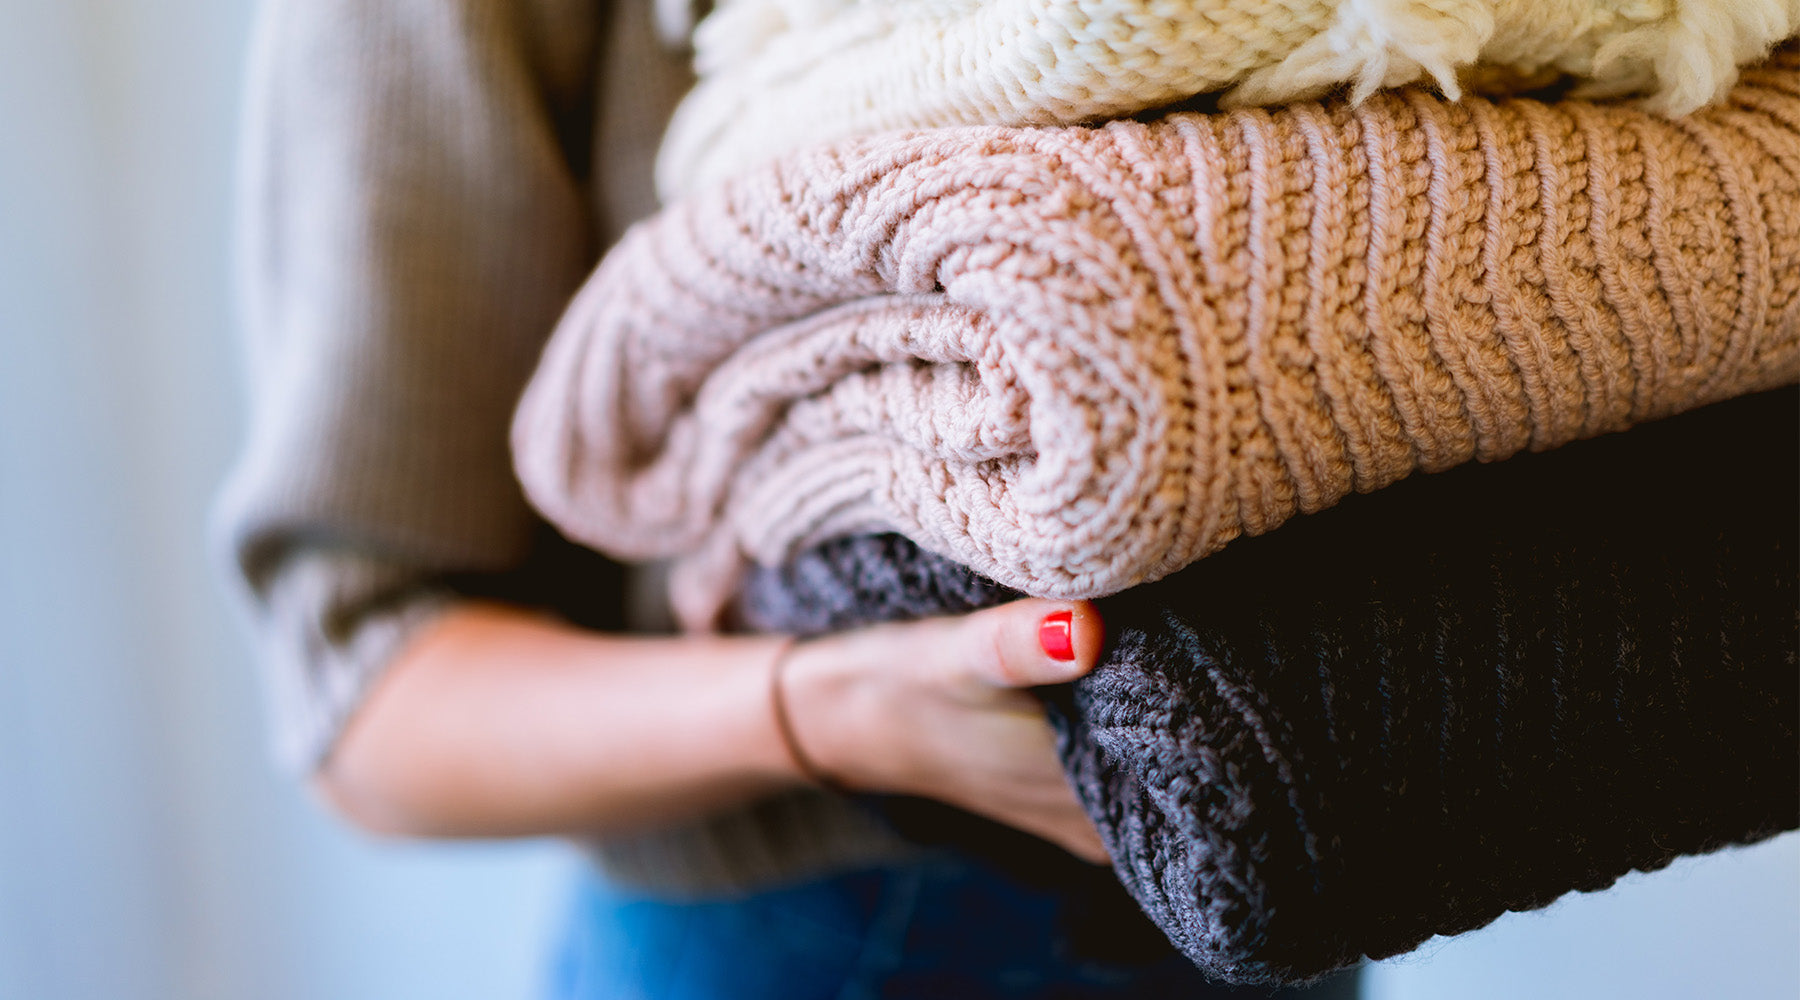
Recently a friend sent me a photo of a pair of fingerless mitts and asked it I could knit her pair. The photo intrigued me and when I located the pattern on Ravelry, the construction techniques fascinated me. It's called "Pieces of Eight". I couldn't wait to give it a try, so I checked my stash and found some Shooting Yarn Panda Sock in colorway "Hey Mister!". I cast on and although I got hung up on Step 5 the first time through, I figured it out. The first mitt is a bit lumpy: 2014-04-18 14.28.37 But I started on mitt 2 and I am really enjoying practicing this figure eight construction! 2014-04-23 12.41.32 I will be knitting a set for my friend (she wants a wool-less set), and I would love to try a pair in Zauberball Sock. Notice my favorite Kollage Needles. I found that having a 40" circular and a set of DPNs was really helpful. 2014-04-23 12.42.22 I knit a lot. And I mean a LOT. Sometimes I just need a new challenge, a new technique or unique yarn to relight my enthusiasm. This pattern was just exactly that. Quick, fun and rewarding. I love the finished result and feel rejuvenated. What new challenges are you attempting in your knitting?

7
7


16 Responses

Mary Larre
Mary Larre

October 18, 2017

I would gladly by the pattern if there were some more pics of the first steps.

Kitty Call
Kitty Call

October 05, 2016

These mitts are stunning. …I will have to make a pair..

Jennifer
Jennifer

October 05, 2016

Hi I am working on these right now and I’m stuck on step 5! I can’t figure out how to pick up the stitchrsvand then which way to go because you HV thosrv70 co stitches. I’m so confused can you help?? Thanks yours are fabulous!

Kjirstine Prickett
Kjirstine Prickett

October 05, 2016

Which part of Step Five are you stuck on? I had to try it a couple times before I got it right!

L
L

October 05, 2016

Glad you had better luck than I am having trying these at the moment. I cannot seem to get my head wrapped around step 5.

Maria
Maria

October 05, 2016

I’ve taken up regressive knitting ;)

Jennifer
Jennifer

October 05, 2016

Yeah I just finished back to the starting point and about to pick up the stitches. I think that s what I was doing other than figuring out which stitches to pu I think its becoming more clear now after u said turn work. If I can get the right stches pu I will try that later hopefully that will get me going I think after I get that ill b good….hopefully. Thanks so much and I may b back lol

Kjirstine Prickett
Kjirstine Prickett

October 05, 2016

After you pick up the stitches, you turn your work, knit 2 together and the work around the thumb stitches. Is that the spot you’re at?

Jennifer
Jennifer

October 05, 2016

OK I’m gonna sound dumb probably OK so when u pickup the stitches u turn it and go back the same way right ? I was trying to go down the rest of the 70 stuches. I’m a Lil slow lol

Kjirstine Prickett
Kjirstine Prickett

October 05, 2016

I relied heavily on the designer’s photos to get through Step 5. When you finish the thumb instructions, knit 20 stitches, place a marker(now called the “starting point”), knit 4 stitches, cable cast on 4 more stitches, place second marker (use a different color). Cable cast on 70 stitches. Knit back to the first marker you placed (starting point). Here is the “gap” the designer mentions.

“Think about this is four sections. 1 stitch at the front, all on its own, 21 stitches to the first marker, 8 stitches between the markers, and 66 stitches after the last marker. In other words: 1,21,8,66.” quoted from Raveler rambunctiousky

The 21 stitch section will have increases. The 66 stitch section will have decreases.

Another Raveler suggest using a different stitch count. “k22; pm; k2; cast on 6 stitches (cable cast on); pm; cast on 66 stitches” Raveler Algebrina

Now on to the sticky part.
Row 2 (WS): K back to starting point. Pick up 1st(or 2, if you need to) from the gap between the last st and pick up 1st from the recently cast-on sts. To pick up 1st from lower cast on edge, wyif, insert right needle from back to front and pull yarn through to pick up the st.
Turn your work and do a RS row

Row 3 K2tog (just picked up stitch and first stitch of row) Now you are knitting round the thumb stitches to marker 1 (starting point) knit the stitches between the markers just the way they are, no inc or dec. After the second marker, (working the long section of cable cast on stitches) k1 ssk, k8 to the end. This decreases and forms the second spiral.
I hope this helps. I’m struggling a bit to explain without the actual project in front of me. Check the notes from projects on Ravelry. There are lots of explanations there and I’m sure one of them will make sense to you!

Jennifer
Jennifer

October 05, 2016

Right I think I may b OK I can’t figure out how I would do it different. It says pu from lower edge of cable cast on so does that mean the row of stitches done in the first round cuz they are closest if I do it any other way I’m gonna get a twist. If the thumb is pointing up my working siches are on the outside

Kjirstine Prickett
Kjirstine Prickett

October 05, 2016

You are working in Rows, not rounds, right?

Jennifer
Jennifer

October 05, 2016

OK I am at the spot were I HV to pu again but I think may by I did it wrong because my working stuches r on the outside and if I pu to keep it straight I HV to our from the knitted stitches not the ones on the needle is that riddht or am I backwards? Sorry if I’m annoying!

Kjirstine Prickett
Kjirstine Prickett

October 05, 2016

Jennifer-
Post a photo when you’re finished! I’d love to see them.

Jennifer
Jennifer

October 05, 2016

I was doing it right I was just over thinking it. I’m on track now hopefully the rest will go better! Lol thanks so much for your help!

Kjirstine Prickett
Kjirstine Prickett

October 05, 2016

Jennifer-
I wish I could see what you’re doing! I’m a very visual knitter. Were you able to check out the Ravelry projects? As confusing as this pattern seems, once I got it, it made sense. If it still feels wrong, then you’ve probably not quite got it yet. Use the photos the designer provided, they really helped me figure it out.

Leave a comment

Comments will be approved before showing up.


Also in Alpaca Direct Blog

Kelley's Favorite Free Knit Sweater Patterns

by Meg Bateman January 02, 2022 1 min read

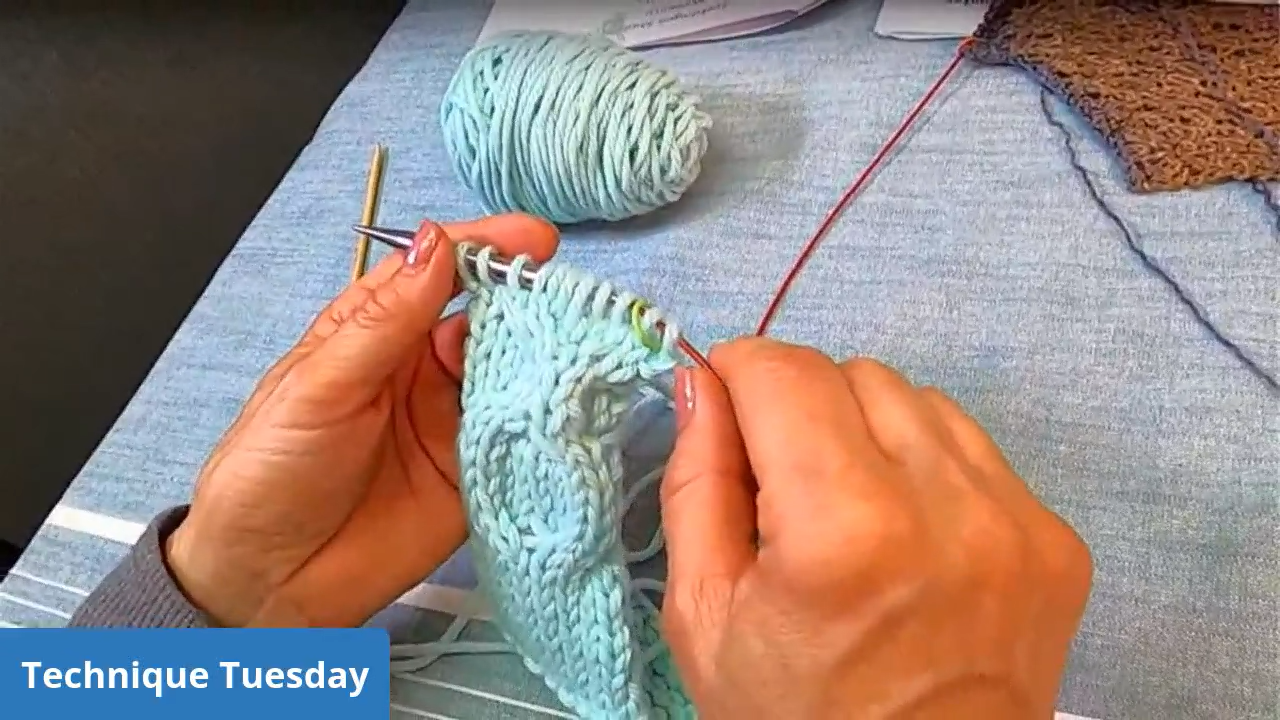
Do you feel lost when it comes to picking out your first knit sweater pattern? This week, Kelley shared her favorite sweater patterns during Technique Tuesday. These patterns all feature minimal seaming, have detailed instructions, and have lots of completed projects on Ravelry! 


Free Beginner Sweater Patterns to Try

Kelley has knit the Brick Sweater several times, and has decided to knit it again with all our Technique Tuesday viewers! Grab some worsted weight yarn and join us for this informal knit along. 

Read More
Christmas Gifts for Knitters & Loved Ones

by Meg Bateman January 02, 2022 1 min read

Do you have a knitter in your life that you would love to give a gift to? Not only do knitters love receiving knitted items, but you can get them some essential knitting supplies and tools as well!
Read More
How to Use the Fix-A-Stitch

by Meg Bateman January 02, 2022 1 min read

Do you struggle with fixing your knitting mistakes or dropped stitches? Kelley loves the Fix-A-Stitch tools! They're uniquely made to make it very easy to quickly fix your knitting mistakes. Here, Kelley demonstrates how to use the Fix-A-Stitch to fix stockinette, purl stitches, and garter stitch using the Fix-A-Stitch tools. 
Read More