Your Cart is Empty
Holiday Gift Sale! Shop Now > |Free USA Shipping On Orders Over $75!
Holiday Gift Sale! Shop Now > |Free USA Shipping On Orders Over $75!

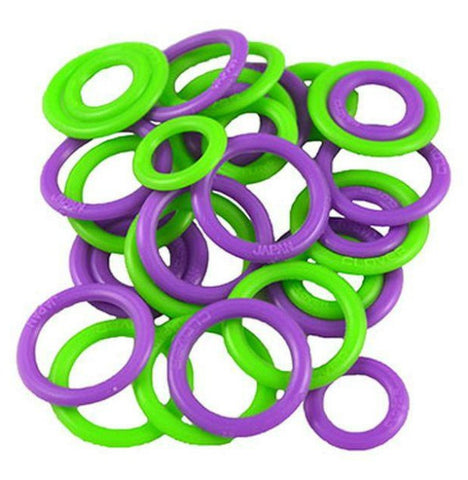
There are a ton of great knitting and crochet accessories available, but stitch markers might just be the most useful. I know I couldn't live without them! My favorites are at left, soft plastic green and purple markers from Clover.
I love these because they're soft, making them easy to slip between needles; they're the markers that I find least affect the flow of knitting. The colors are good, too. I use green at the beginning of a round: GO!
I recently used about thirty markers in a project, so I thought I'd try to come up with 10 uses for markers, which, unsurprisingly, was really easy!
1. Mark the beginning of a round. After working a few rounds in a project, it can become impossible to find the first stitch. Place a marker after joining to work in the round, and this problem is solved.
2. Divide cast-on stitches into manageable chunks. Need to cast on 500 stitches for a project? Place a marker after each group of 50 (or 25, or 100) stitches. When you need to count stitches, just count the groups. So much easier!
3. Mark the front (or back) of a project. If you're working on a reversible project, or anything that has a similar looking front and back, place a locking marker to remind you of which side you're working on. I love these Locking Stitch Markers, shown below.

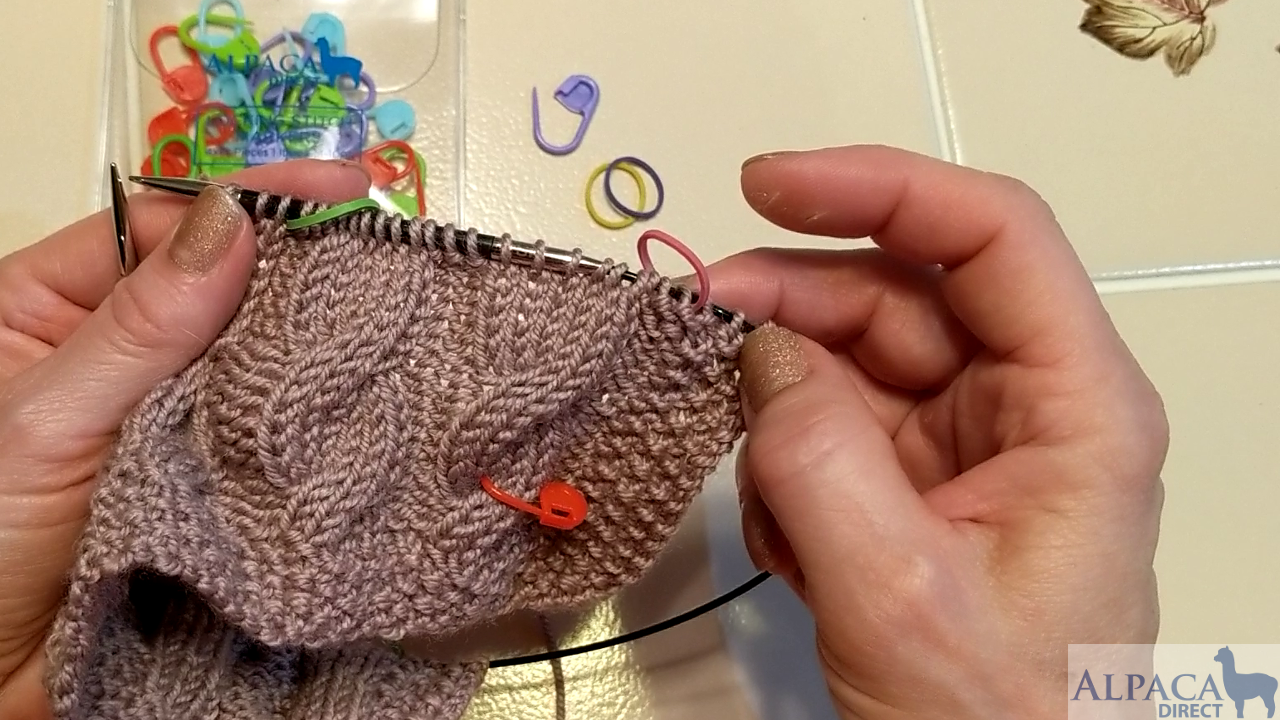
4. Separating pattern repeats. One of my favorite uses for markers is placing them after each pattern repeat in a lace, colorwork, or cable project. This makes it easy to follow a chart, because you know where you are all the time.
5. Marking a stitch-pattern change. I always place a marker between the button band and front stitches, for example, or any edging stitch and the main stitch in a project. Here I'm using a green circular marker to note the separation between the shawl collar and body of the Veronika Cardigan.

6. Securing a dropped stitch. I asked on our Facebook page how people use markers, and Sherri A. said she uses a locking marker to secure a dropped stitch until she can fix it. Great idea!
7. Use markers to keep track of rows, increases, or decreases. I used locking markers to keep track of increases while using a dark yarn. I couldn't see the decreases easily, and I needed to make 14 of them. I marked each one as I completed it, so I could simply count the markers and know how many decreases I'd made.

8. Use locking stitch markers to hold your work together while seaming. These type of markers are basically plastic safely pins, so they're great for holding pieces together while finishing. I especially love them for set in sleeves; I use one to secure the center of the sleeve cap to the shoulder seam, and one each on the underarm edges.
9. Mark decreases when working hat shaping. Many hat patterns have crown decreases every seven or eight stitches. On the first decrease round, I place a marker after each decrease, and when I get to two stitches before each marker, I know it's time to decrease.
10. Amusing our cats. #cattoys This one is from Marybeth S. on Facebook. I love it!
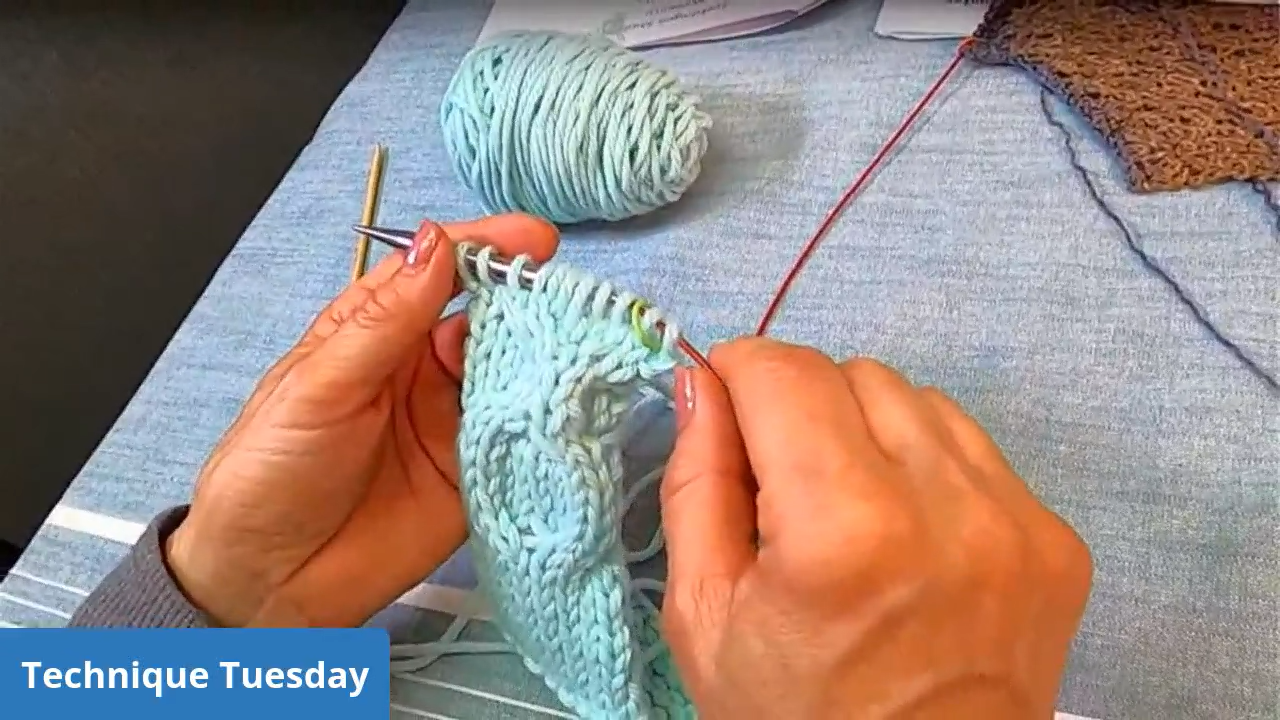
Here's a video from Kelley on how she used stitch markers to prevent errors and speed up her knitting.
I hope these tips help you in your knitting and crochet projects. And if you're running low on markers (and who isn't?), check out our great selection!
Cheers,

P.S. Leave a comment and tell me your favorite way to use markers!


Comments will be approved before showing up.

Do you feel lost when it comes to picking out your first knit sweater pattern? This week, Kelley shared her favorite sweater patterns during Technique Tuesday. These patterns all feature minimal seaming, have detailed instructions, and have lots of completed projects on Ravelry!
Kelley has knit the Brick Sweater several times, and has decided to knit it again with all our Technique Tuesday viewers! Grab some worsted weight yarn and join us for this informal knit along.


Beth Mitchell
November 26, 2017
My husband has teased about stitch markers forever because they turn up in very odd places sometimes; however, last year he had to go back and remove a string of Christmas tree lights from the middle of the tree. After puzzling over various ways to keep track of the faulty string, he sheepishly asked for some stitch markers. He hasn;t done much teasing lately!