Your Cart is Empty
Holiday Gift Sale! Shop Now > |Free USA Shipping On Orders Over $75!
Holiday Gift Sale! Shop Now > |Free USA Shipping On Orders Over $75!

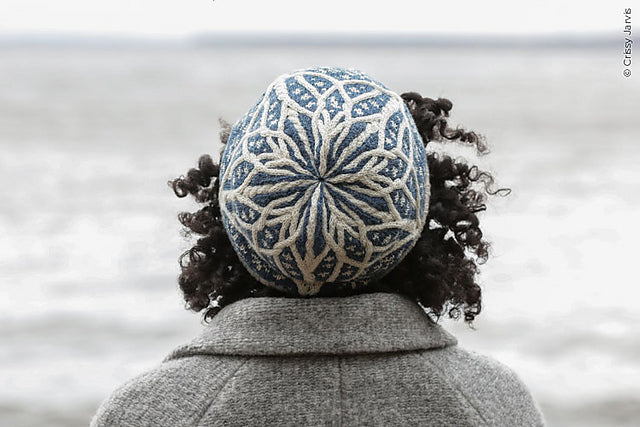
I discovered the Norrland Hat pattern on Ravelry and decided to take on the challenge. I love the trees and snowflakes and I've never done colorwork and cables at the same time. Isn't this a beautiful pattern?
Since I love learning new things, I bought the pattern immediately after seeing the pattern hit the top 20 list on Ravelry (and then stay there for more than two weeks!).
My favorite knit hat is brown, so I chose to use a mix of brown yarns for this project. For the background yarn I used a darker shade Madelinetosh Tosh Merino Light in Whiskey Barrel to add some structure and strength. For the lighter colored trees I chose Blue Sky Royal Alpaca in Cafe Au Lait/Light Tan #703 for a soft, luxurious feel. I played around with using DK-weight yarn to make this a little bigger—more about that later.
Before I began Norrland, I read through all of the notes on Ravelry from the knitters who've completed this project, to anticipate any challenges that might come up as I worked on the hat.
The first thing that jumped out at me was that the pattern said to cast on 150 stitches. I tried this with a US 1 needle and it seemed as if my brim would be way too wide for my head, so I ripped it out.
As I was working on the brim, I didn't like how the light-colored yarn looked against my skin, so I decided I would use the darker yarn for the brim. I also thought a stockinette brim would look better than the called-for 2 x 2 ribbing, and I'm really happy with it!

I did some math and decided to cast on 130 stitches using a provisional cast on and knit 3.75 inches. Then I folded the brim in half, took out the provisional cast-on and joined the two edges of the brim by knitting one round, catching the live stitches and knitting them together with the stitches already on my needles. This resulted in a thicker, more substantial brim. As I knit this round, I placed stitch markers every 26 stitches so I could keep track of each chart repeat.
Since I cast on fewer stitches at the beginning of the project, I needed to get back up to the required number of stitches so I could start the chart. On the next round, I increased eight stitches between each marker by working an increase round: K3, M1L to 2 stitches before next marker, then K2. I repeated this increase round four more times to get 170 stitches. I was then ready to begin working from the chart!
My next potential problem was having a hat that was only 17.5 inches around.I didn’t want my hat too tight, so it was at this point that I tried using a dark brown DK-weight with a light-colored fingering weight yarn to see if I could make it a little bigger. That didn't work, so I ripped it out again!
I finally decided to use US 3 circulars for the body of the hat, and focused on making my floats loose by keeping my stitches on the right-hand needle spread apart instead of bunched up. This worked great; I was making good progress!

My finished hat measures 18.5 inches around, which is perfect for me.
I just couldn't stop making this hat my own, so I decided I wanted a slouch hat instead of a beanie. I accomplished that by adding extra length to my brim and adding four extra pattern rounds by knitting rounds 24, 28, 32, and 40 twice instead of once. This did not affect the look of the pattern but it did add enough length to convert the beanie to a slouch. I love it!
When I got to the top of the hat, the cables were looking a little thick and bulky. To help with this problem, I did an extra round of decreases using the dark brown yarn, stopping when 10 stitches remained, instead of the 20 called for in the pattern. This decreased the bulk at the top of the hat, giving it a smooth finish.
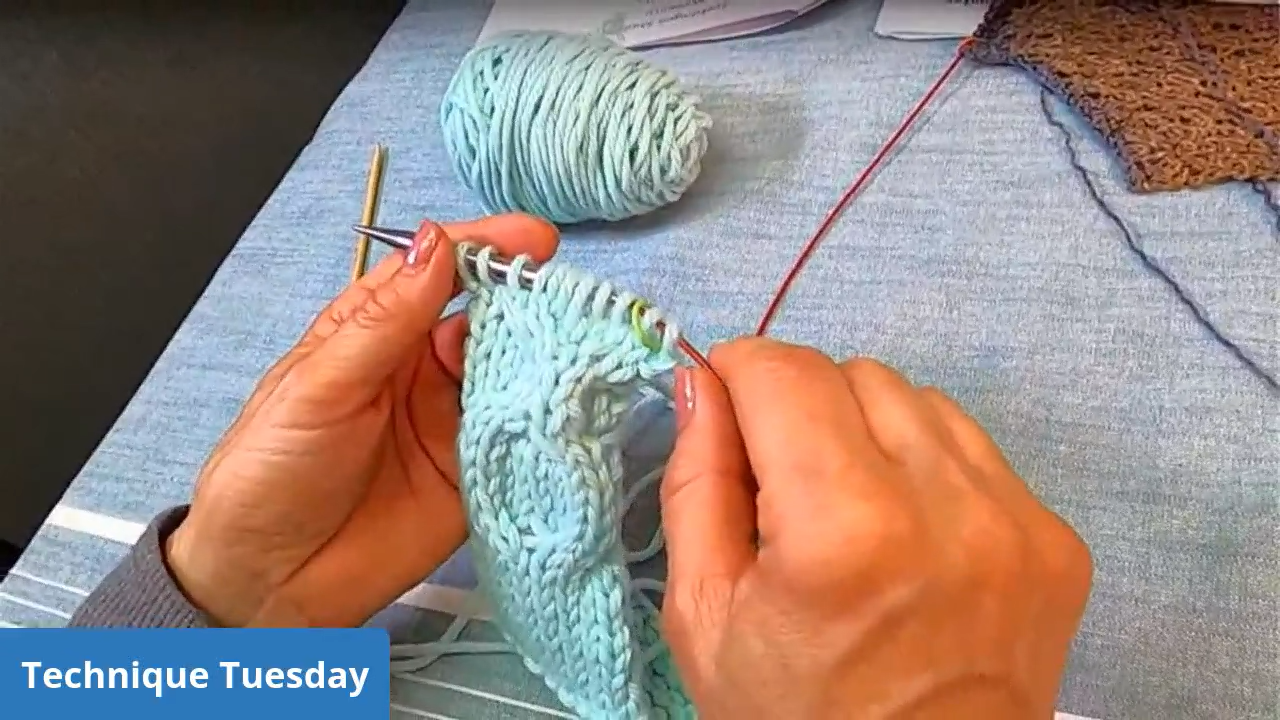
This resulted in a 9-inch tall hat that's relaxed and comfortable—not too tight, not too loose, and it looks good on both men and women. If you want to learn more, I discussed all of these modifications in my weekly Facebook Live video.
Here's the replay of the Technique Tuesday video.
Making Your Pattern Stand Out
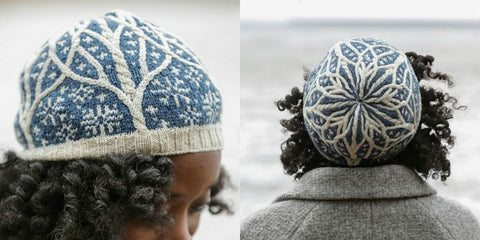
To really make trees and cables to stand out, hold your light colored yarn in your left hand. This allows the cables to be dominant and stand out from your background as the light colored yarn comes from underneath the dark colored yarn.

You can turn your hat inside out and to make sure that the light colored yarn is more visible than the dark colored yarn, as shown in the photo above. This is “proof” that you held your yarn in the correct hand position. I love how creative this pattern is as it uses both cables and colorwork.
This pattern was an enjoyable knit. Now I just need to make the matching mittens (included in the pattern)!
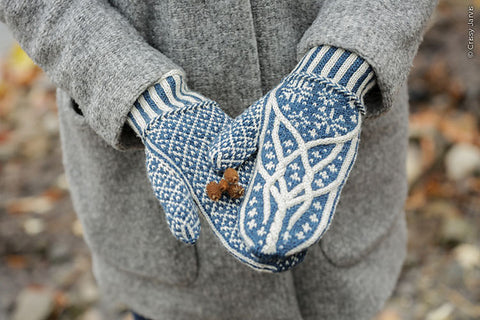
Aren't they pretty? I'll be making smaller mittens, because I have tiny hands! I'll keep you posted on the pattern modifications.
Here's a video on how to cast on 2-at-a-time so your mittens match.
Happy knitting,


Comments will be approved before showing up.

Do you feel lost when it comes to picking out your first knit sweater pattern? This week, Kelley shared her favorite sweater patterns during Technique Tuesday. These patterns all feature minimal seaming, have detailed instructions, and have lots of completed projects on Ravelry!
Kelley has knit the Brick Sweater several times, and has decided to knit it again with all our Technique Tuesday viewers! Grab some worsted weight yarn and join us for this informal knit along.