Your Cart is Empty
Holiday Gift Sale! Shop Now > |Free USA Shipping On Orders Over $75!
Holiday Gift Sale! Shop Now > |Free USA Shipping On Orders Over $75!

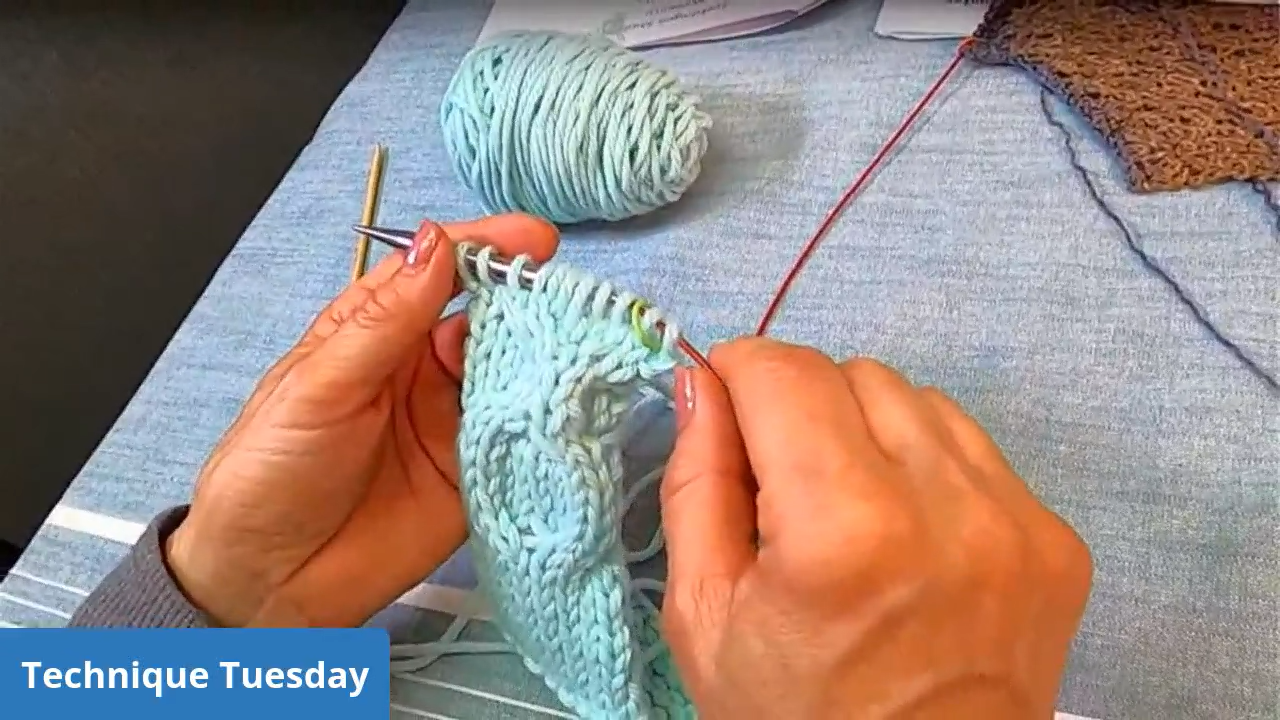
Tidy edges are important when knitting or crocheting, and Kelley explored this in-depth in a Facebook Live broadcast.
When knitting, there are several techniques you can choose from to create nice edges. In the swatch below, Kelley shows four methods to try.

Section 1: There are four rows of garter stitch at the bottom, which keeps stockinette stitch from curling up. This section of the swatch is knit in stockinette stitch (knit on right side, purl on wrong side), which curls at the sides. This swatch has been blocked, and you can see that it's curling under on the side edges.
You can use this curling tendency as a tool, though. When you're carrying yarn up the sides, such as when knitting thin stripes, this curling hides those carried yarns. Bonus!
Section 2: Garter stitch edges stockinette stitch in this section of the swatch. This is a common edging on projects that use a lot of stockinette stitch, because garter stitch does a wonderful job keeping the curl out of stockinette .
Section 3: For this portion, Kelley used a rolled edge. The center is stockinette stitch with two garter stitches on either side. To get the rolled edge, she slipped the last two stitches of every row purlwise with the yarn in front.
You can slip as many stitches as you want to; the more you slip, the larger the rolled edge will be.
Section 4: This shows a rolled edge with ribbing. Kelley slipped the last three stitches of every row purlwise with the yarn in front, and then worked a purl 1 knit 1 ribbing. This gives a structured, defined edge. Kelley used this edge on her free pattern, the Kisses and Hugs Baby Blanket.
If you want to add a slipped stitch edge and it's not called for in your pattern, just add two stitches (or four, depending on how large you want your rolled edge to be) to the cast on, and slip the last two stitches of every row.
There are several methods for creating tidy edges, and Kelley talked about a few of her favorites. The swatch below is labeled by section and the sections are described below the swatch.

Section 1: This is the edge stitch used in the Malia Classic Cowl. Designer Rebecca Langford (Little Monkey Designs). Every row starts with chain 1, crochet into then next stitch and don't crochet into the chain stitch. This leaves bumpy edges.

The Malia Classic Cowl, Malia Wristlets, and Malia Boot Cuffs.
Section 2:This edge eliminates the chain 3 stitch and goes right into a double crochet. Kelley demonstrates this at about 16 minutes into the Facebook Live video. (Note that she says "takes the place of double crochet" but she means that the double crochet takes the place of the chain 3.)
The double crochet is done at the beginning of the row as follows: Pull up an elongated loop, yarn over using that loop, yarn over again with working yarn and pull through two loops, yarn over and pull through last two loops to complete.
Section 3: This is done by turning the work, chaining 2 then double crocheting into the first stitch. This fills up the extra space and prevents a gap. It looks better than the chain-3 gap shown at the beginning of the sample.
Section 4: Kelley found this technique on YouTube, from Maggie's Crochet. She does a chain 1, raises up a loop and then double crochets in the same stitch. This technique also eliminates any gaps. This is one of Kelley's favorite ways to make straight edges when crocheting.
Section 5: This is also a YouTube discovery, from Sewrella. Here, you stitch in the very first stitch, right next to the chain. By not skipping the first stitch, as is done traditionally, this technique creates a perfectly straight edge. At the end of the row, Sewrella works into the last stitch and not the turning chain.
I hope these techniques help you maintain tidy edges in your knitting and crochet.
Cheers,

P.S. Do you have a great edge technique not mentioned here? Leave a comment and share it with us!

Comments will be approved before showing up.

Do you feel lost when it comes to picking out your first knit sweater pattern? This week, Kelley shared her favorite sweater patterns during Technique Tuesday. These patterns all feature minimal seaming, have detailed instructions, and have lots of completed projects on Ravelry!
Kelley has knit the Brick Sweater several times, and has decided to knit it again with all our Technique Tuesday viewers! Grab some worsted weight yarn and join us for this informal knit along.