Your Cart is Empty
Winter Sale! Shop Now > |Free USA Shipping On Orders Over $75!

Like many of you, I was researching various masks to make for my friends and family and wanted one that could be made quickly, had a nice fit around the nose, and provided an option for a replaceable filter to provide a little more protection for myself and others nearby. So I fired up my sewing machine and started experimenting!
I finally came up with a mask that I was happy with, so I thought I'd share it.
These are not meant to replace the N95 masks worn by healthcare workers — they're designed to be an alternative to the simple cotton masks that many people are making and wearing for quick trips to the grocery store.
This mask can be quickly made from a single piece of fabric using either elastic ear bands or fabric tie strips. It is made to cover a cough or sneeze and will protect against the spread of germs.
Front of mask with fitted nose piece
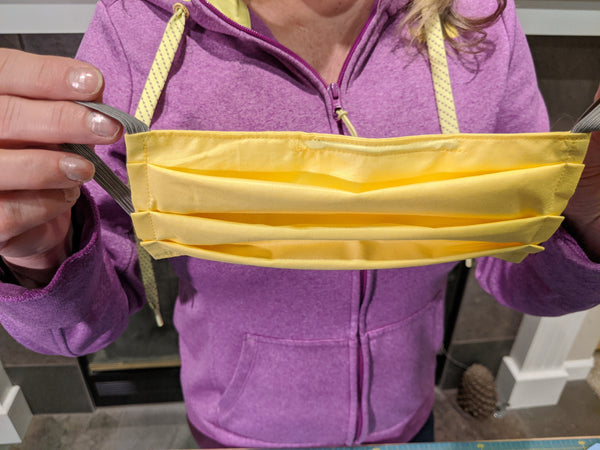
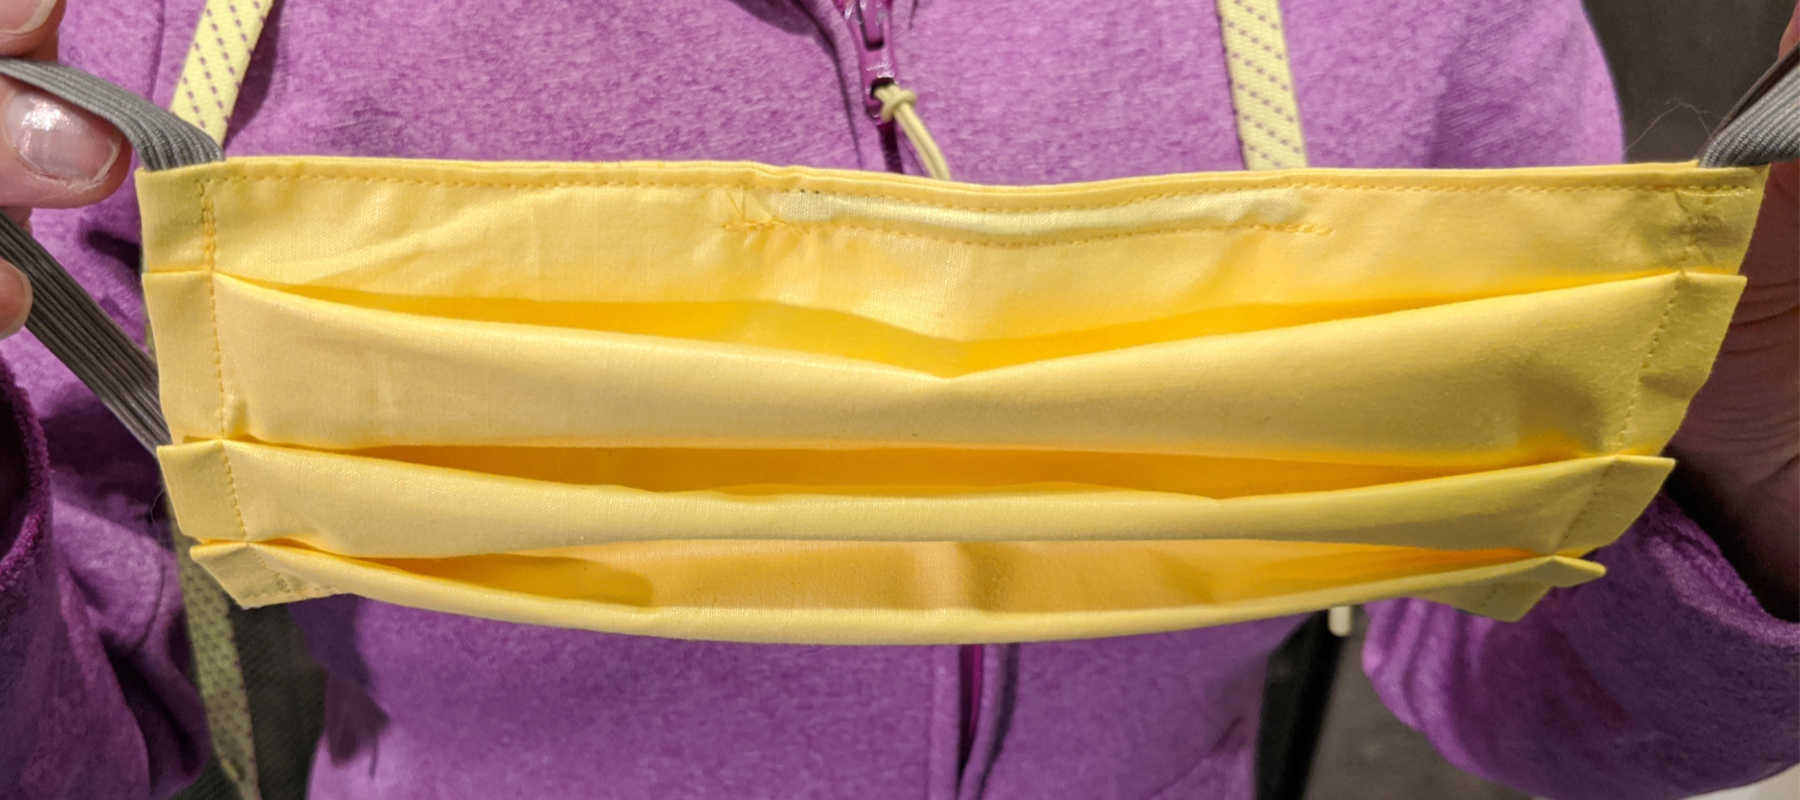
Back of mask with filter insert
Getting started: With right sides of fabric facing, fold the short side of the fabric in half and match your corners. Sew a ⅜” seam along either edge of your fabric, leaving a 3” center opening. Iron the seam open.
Making the filter opening: Sew along either side of the seam to stabilize the fabric. With the mask inside out and your seam to the left side of you (adult, about 2” or child, about 1” from the edge of the mask), press the entire mask into place with an iron.
Attaching ear straps: Take one elastic and pin to the inside of the short edge of the mask, one pin close to the top and one pin close to the bottom, making sure the elastic is flat and not twisted. Repeat once more for the other elastic. Sew along the left and right sides of your mask in order to fasten your elastic in place. Make sure to back stitch over the elastic in order to provide durability.
Making pleats: Turn the mask to the right side and press in place.Fold 3 matching pleats on either side of your mask and pin in place. Iron pleats in place and sew a ⅜” seam around your entire mask, making sure to back stitch in every corner.
Noseband casing: Fold mask in half and mark center with pin. Mark a 3” seam at the top center of your mask. Sew a 3” seam ½” from the top edge of your mask to create the noseband casing. Insert noseband wire through the filter opening and slide wire snuggly into the noseband casing.
Your mask is now complete!
Since this is all new and we are trying to find materials that are effective but also safe while leaving the N95 masks for health care providers and other First Responders. A study performed at Cambridge University during the H1N1 flu pandemic concluded that the vacuum bags were one of the top materials to use as a DIY surgical mask. The filtration and material of the bags helped capture the harmful airborne pathogens and provided some protection to the users wearing the mask made of vacuum bags however they are still not recommended to stop viruses.

Here's an article we found with information on the use of shop towels to add additional filtration to your masks.
The key point is that these masks primarily help keep you from spreading any germs to others since so many people may be asymptomatic and may still shedding the virus unknowingly. The best thing is of course to stay home and practice social distancing to avoid any additional contact while we get through this medical crisis.
Take care, and be safe.
Kelley

Comments will be approved before showing up.